Paleo Pumpkin Bread with Chocolate Chips

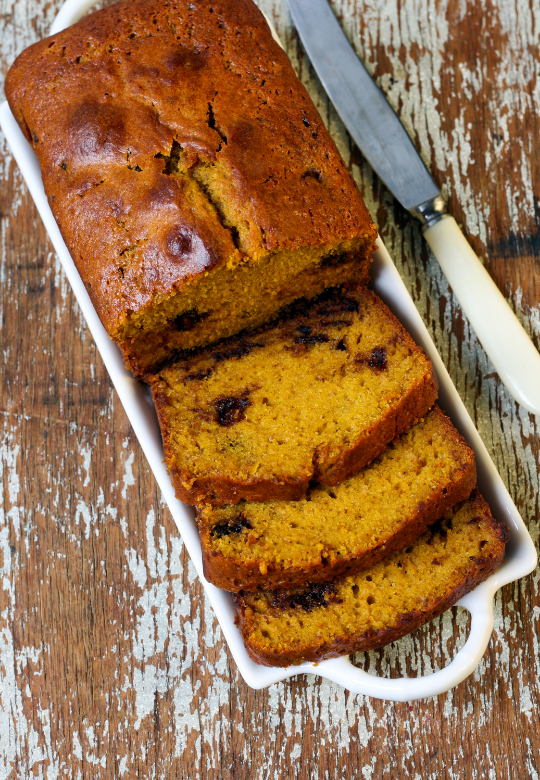
I'm not a baker. I don't have the patience for measuring things perfectly. Sometimes I get lucky and stumble upon a great combination and I get a great muffin or cookie. Most of the time I leave the baking to others especially when it comes to using coconut flour; a flour that requires precise measuring. The original recipe listed here (and most of the pumpkin recipes I love) are from Paleo Running Momma . Grain, gluten, and dairy-free, and nut-free this is a winner every time.
Ingredients:
4 large eggs
1 cup pumpkin puree
1/2 full fat coconut milk (make sure it is blended before adding)
6 Tbsp pure maple syrup (I use 5 Tbsp)
2 tsp pure vanilla extract
1/2 cup + 3 Tbsp coconut flour (measure exactly)
1/3 cup tapioca flour (I use Bob's Red Mill)
1 tsp baking soda
1 Tbsp pumpkin pie spice (I use President's Choice)
1 tsp cinnamon
1/4 tsp sea salt
3/4 cup chocolate chips (I use Enjoy Life dairy-free and only 1/2 cup)
Directions:
1. Preheat your oven to 350 degrees F and line a loaf pan with parchment paper.
2. In a medium bowl, combine the coconut flour, tapioca flour, baking soda, pumpkin pie spice, cinnamon, and salt. Set aside while you combine the wet ingredients.
3. In a large bowl, whisk together the eggs, pumpkin puree, coconut milk, maple syrup and vanilla until very smooth. Slowly add the dry ingredients to the wet, stirring gently by hand until just combined, then fold in 1/2 cup chocolate chips/chunks. The batter will be thick due to the coconut flour.
4. Transfer all the batter to your parchment liked loaf pan and gently spread with a spatula. Bake in the preheated oven for 55-65 minutes, until the top is browning and a toothpick inserted near the center of the loaf comes out clean (chocolate is okay, no batter.)
5. Allow the bread to cool in the loaf pan on a wire rack for about 20 minutes, then remove the loaf from the pan using the sides of the parchment paper to help lift it out. Cool the loaf on the wire rack completely before slicing and serving. Makes 10 servings. Store leftovers loosely covered at room temp for the first day, then cover and refrigerate any remaining leftover bread. Enjoy!
Also in Snacks


Naturally Soothe Allergies: DIY Allergy-Relief Tea Recipe
Dreading the arrival of allergy season? Ease your symptoms with a comforting cup of homemade allergy-relief tea. Infused with potent ingredients renowned for their anti-inflammatory and immune-supporting properties, this simple recipe offers a natural approach to tackling those pesky allergies. From the sweetness of local honey to the zing of fresh lemon juice, discover how each component works harmoniously to provide relief. Say goodbye to sniffles and sneezes as you embrace the soothing warmth of this homemade remedy.


